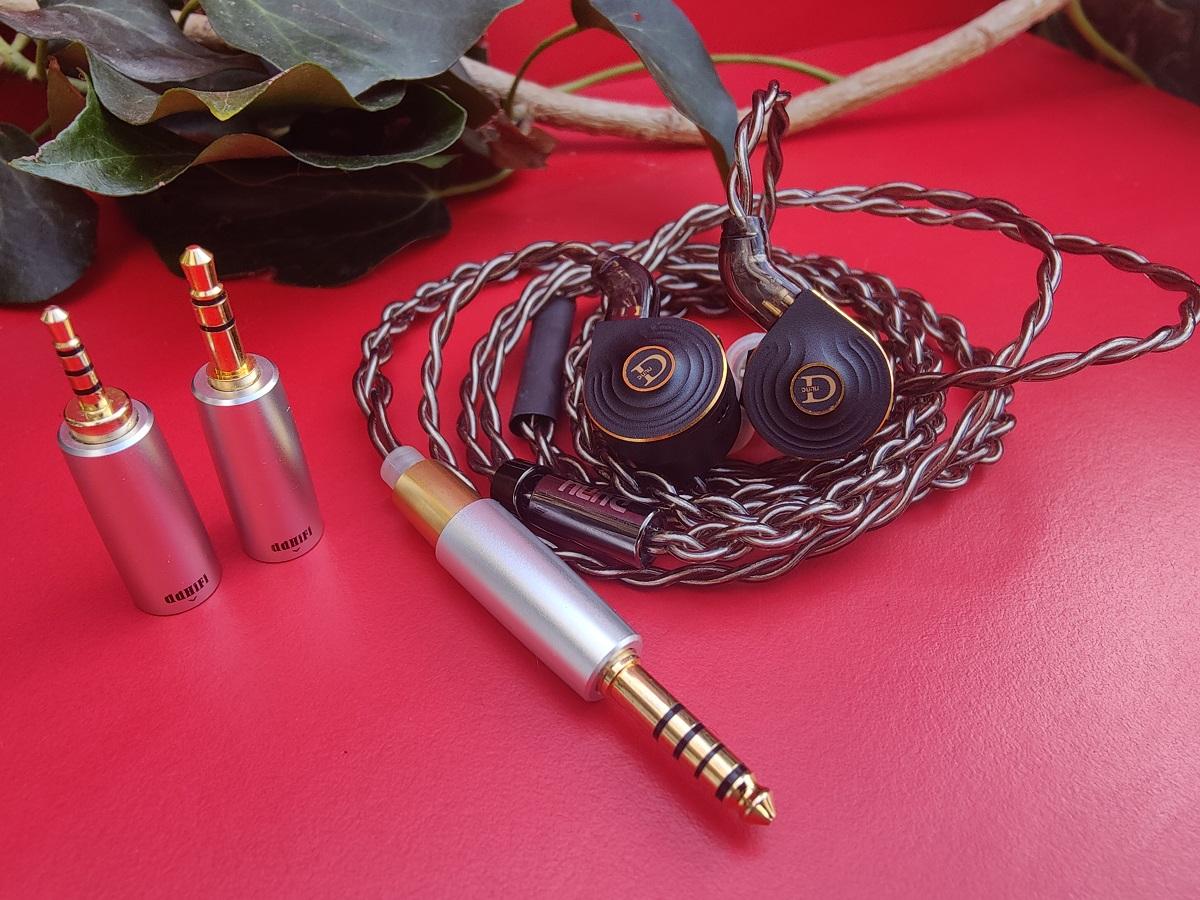
I like the DUNU Talos very much. It’s the best IEM in my collection so far. And I’m gonna be honest the Talos made me believe in the planar IEMs again.
Putting the TinHiFi P1 and P1 Plus aside, the real hype about the “affordable” planar IEMs began with the 7Hz Timeless about a year ago. Everybody was talking about it, everybody was buying it so decided to get that magic IEM too. Listened to it a couple of times, tried to understand the hype, yes it is a good set for sure but wasn’t a real fit for my taste. I was expecting a much more satisfying sound that smells like a planar. The same goes for the Letshuoer S12. Sounded better than the Timeless for me but that set also didn’t get to be my daily driver. I was using TRN Bax for my music therapy sessions until I got my hands on the DUNU Talos. More on the comparative sound analyst on my Talos review later.
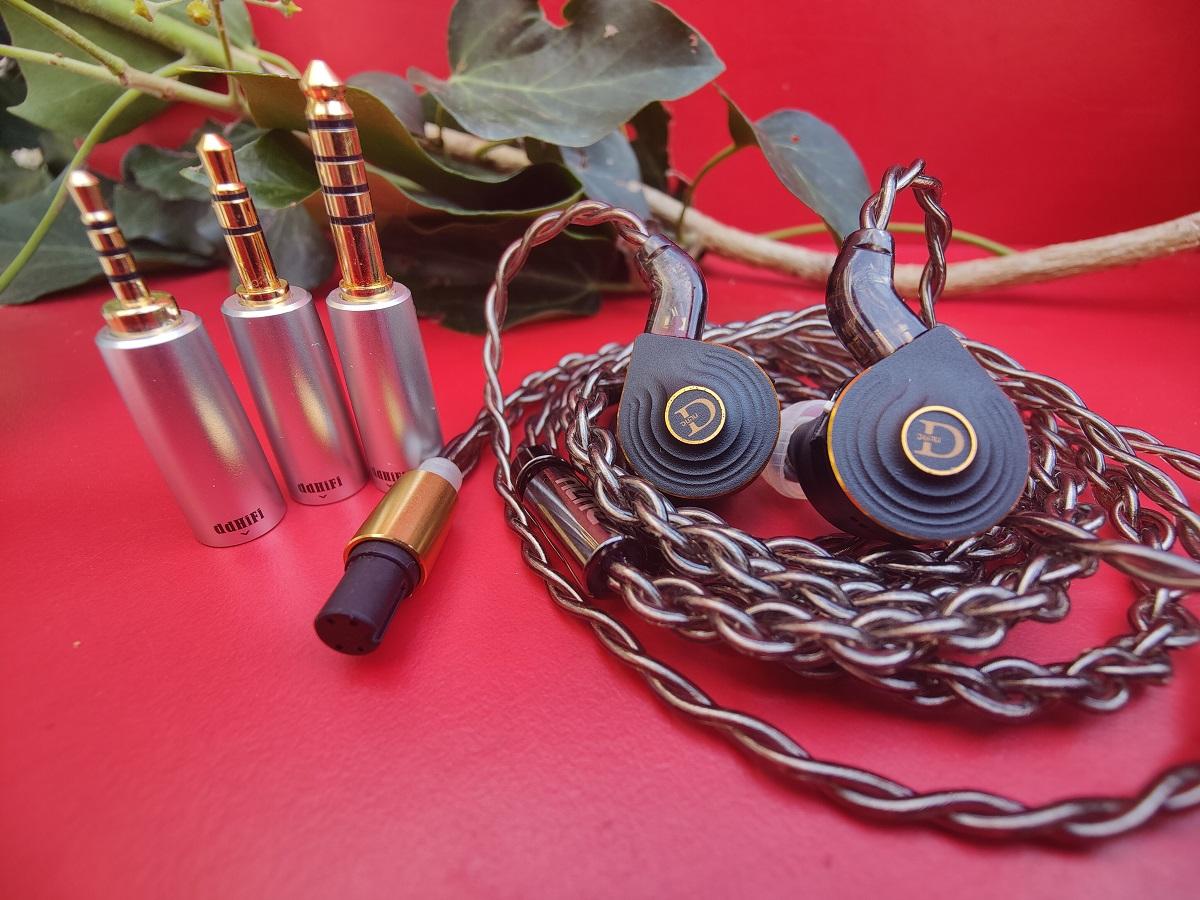
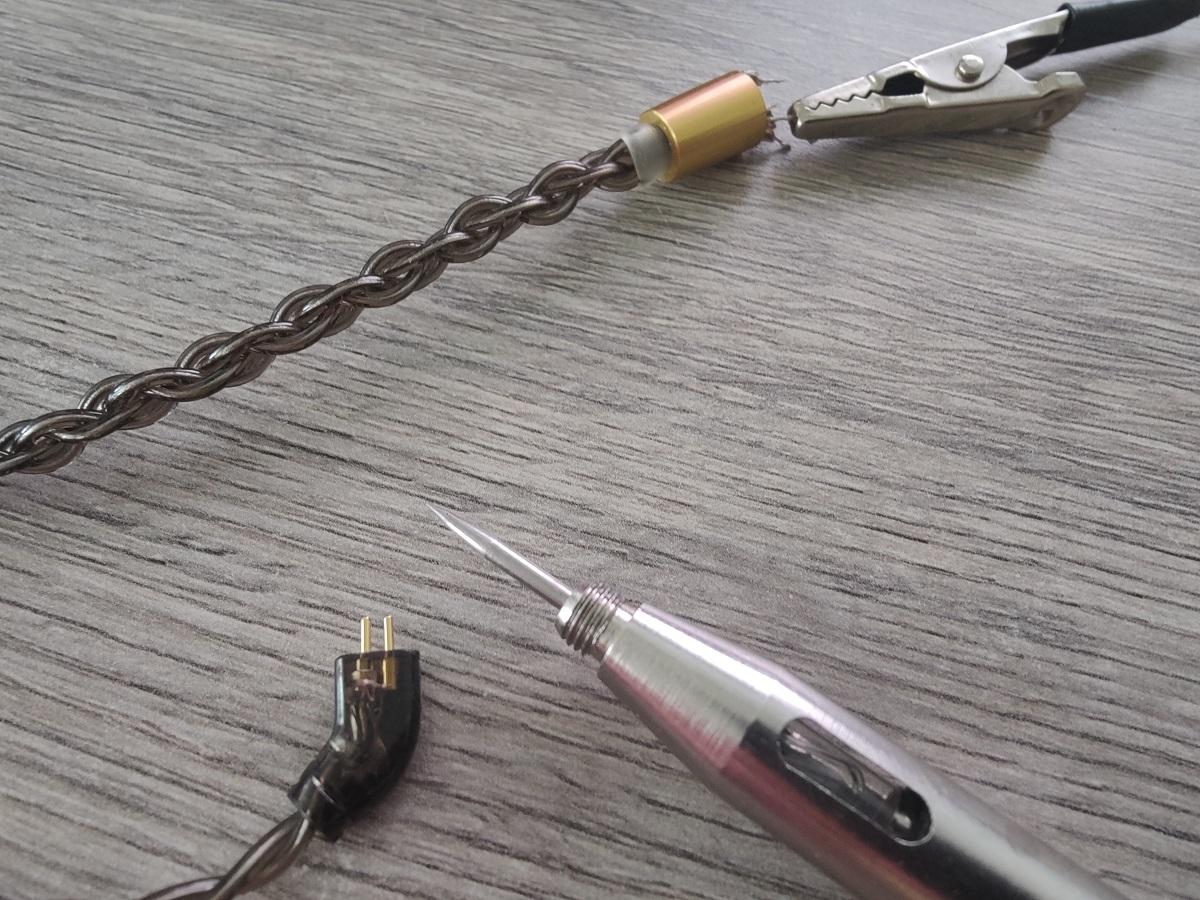
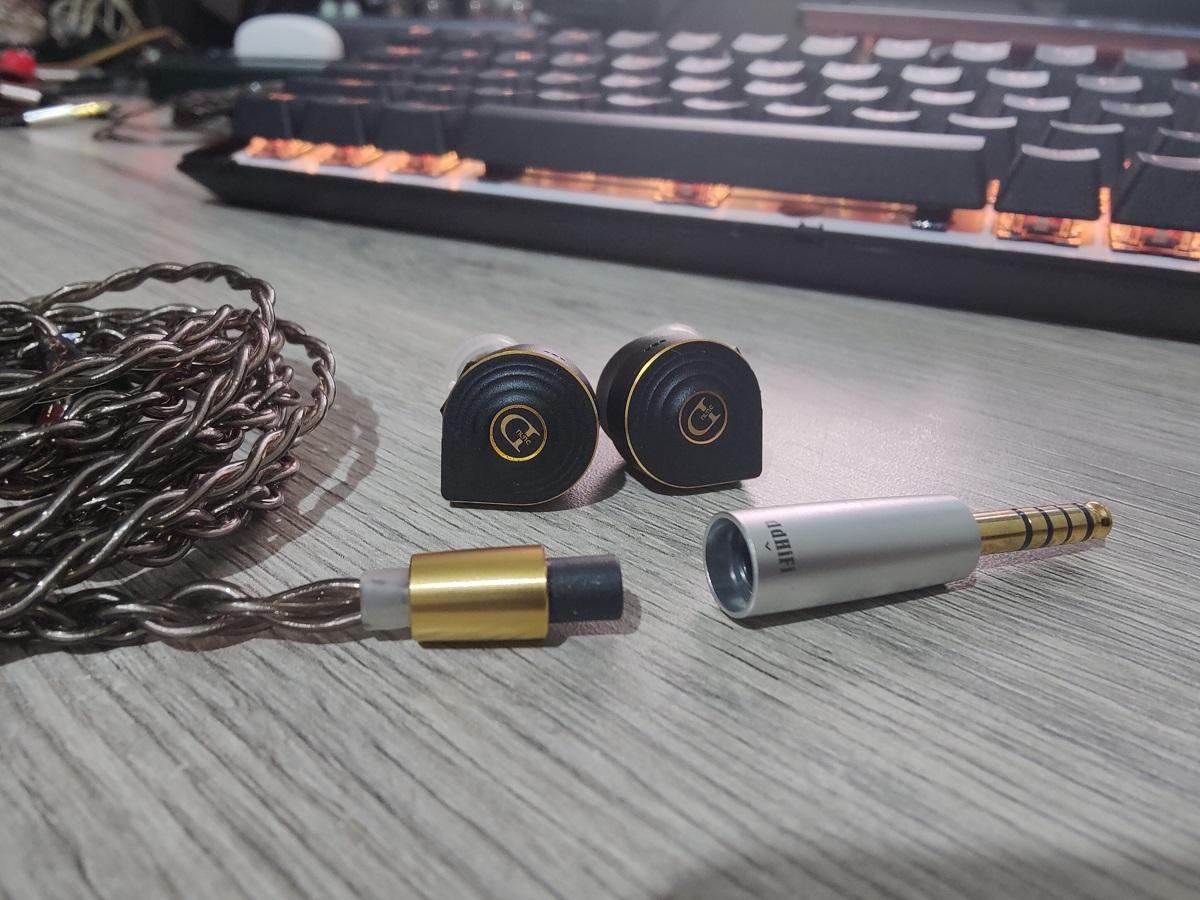
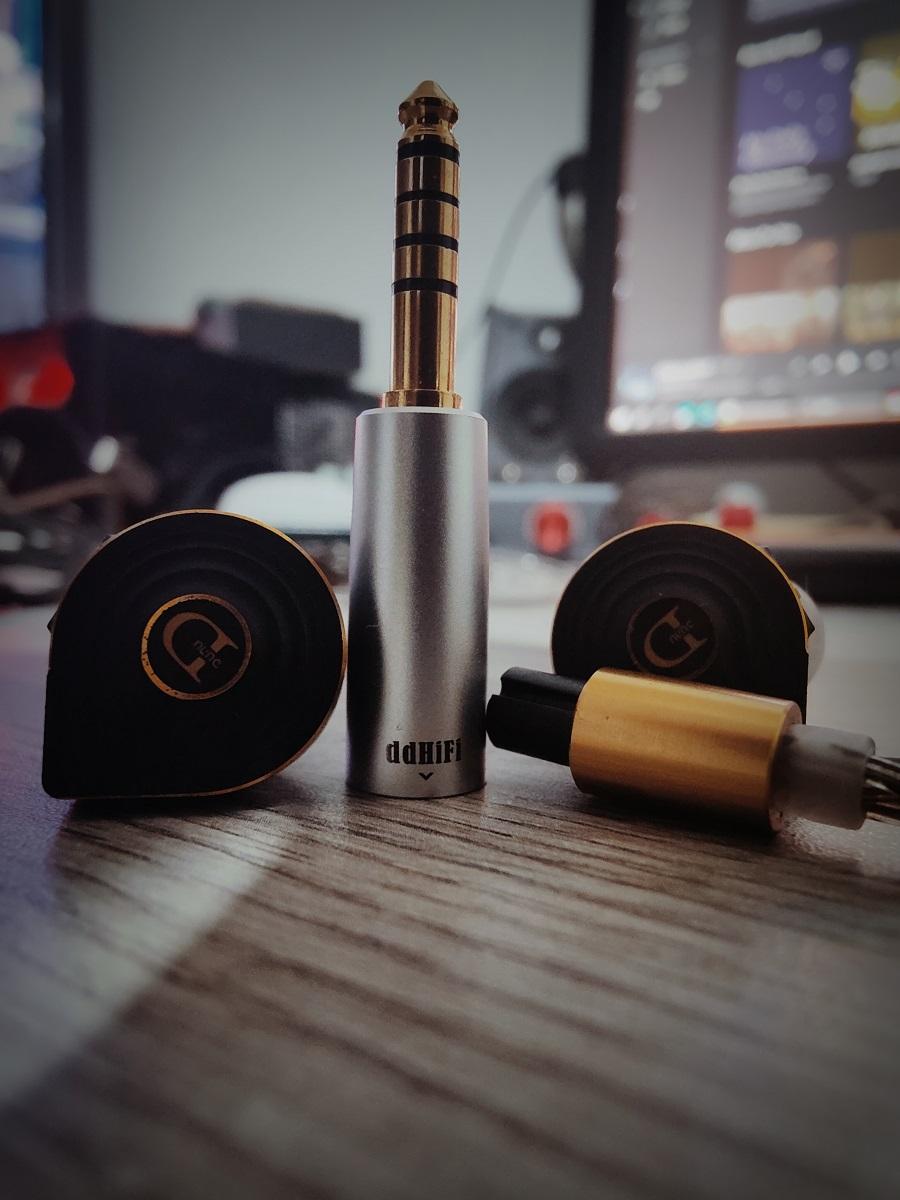
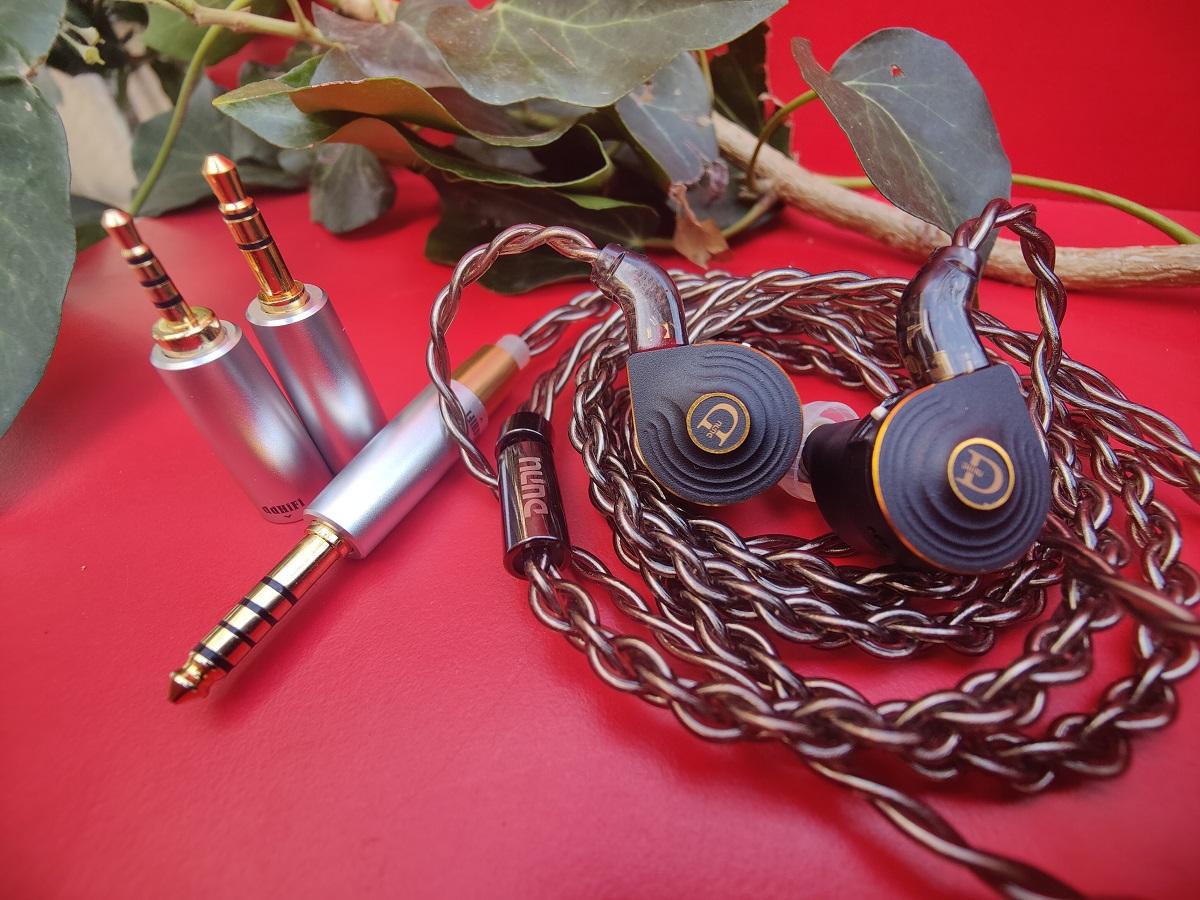
I was saving the ddHifi BM4P exchangeable plug set for the cable build that I was planning for later. I was still searching for a matching 2-pin connector and y-split set. But decided to use it to mod Talos’s cable. Firstly to be able to use the 4.4mm balanced plug because being a planar IEM Talos loves and needs power to shine. Secondly, I think they would make a good match both in color and style.
So here is how I did it guide for anyone who is thinking to do a similar mod, to learn from my mistakes and do a better job 🙂
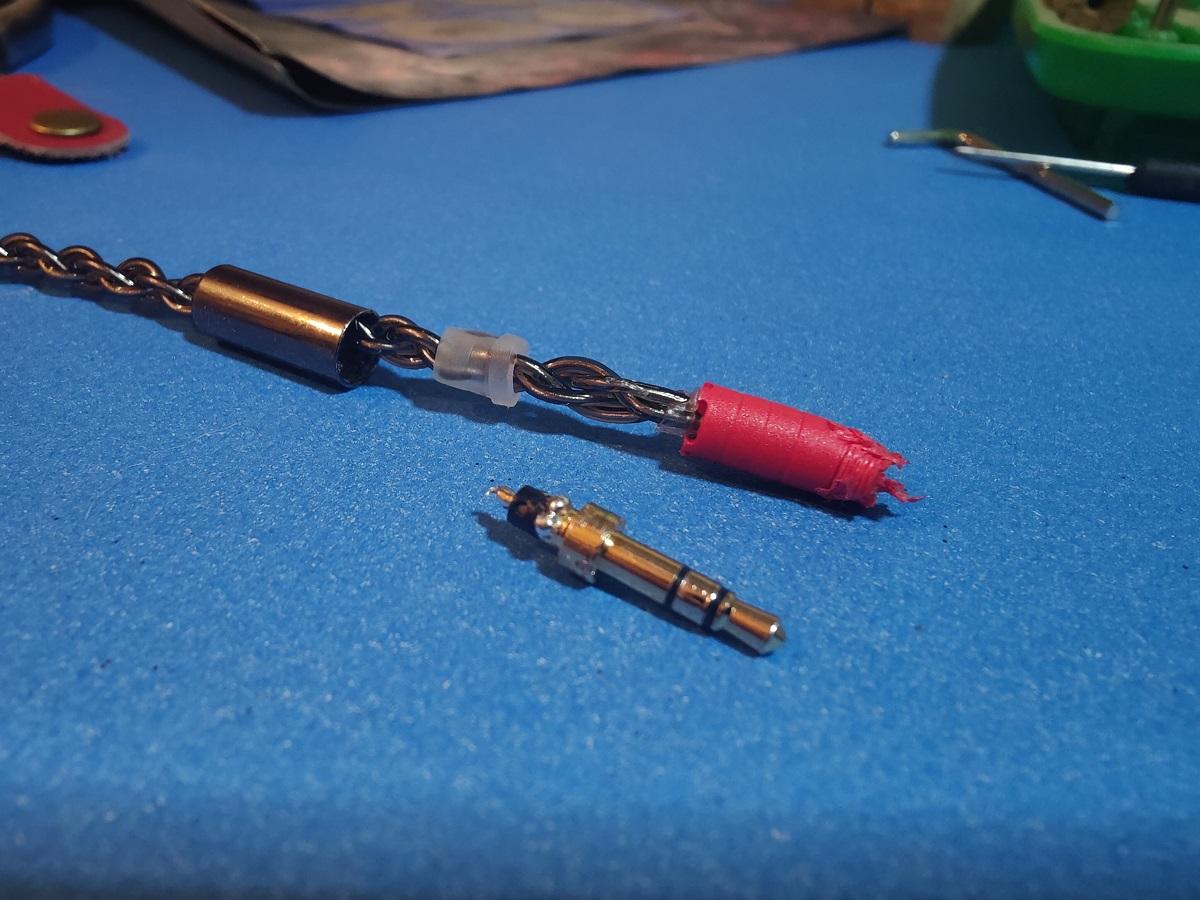
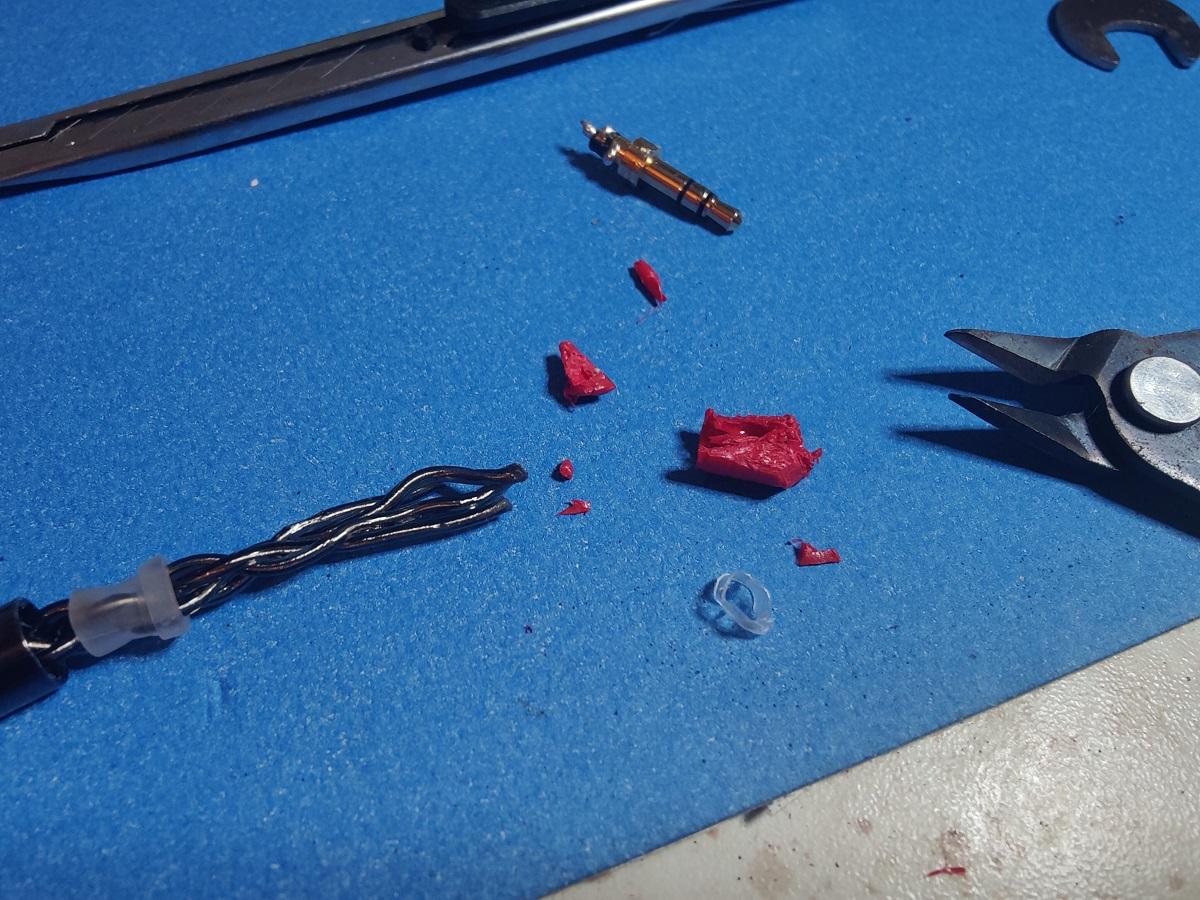
My first mistake was to try disassembling the original 3.5mm plug of the Talos. I was thinking to save as much cable length as I can. I also was curious to see the inside and save the solderings on the cable end. But I never thought that DUNU used a plastic molding (red) inside the 3.5mm plug and it can’t be opened in a traditional way. I should have known from the red plastic part at the bottom of the plug, lesson learned.
My second mistake, you should be careful on braided cables like this if you are thinking of a mod like this. Meaning there is not much of a length to work on the end part of the cable and you can lose the braid structure as I did. I was thinking to save as much cable as I can but lost around 3-4cm cable in the end 🙂
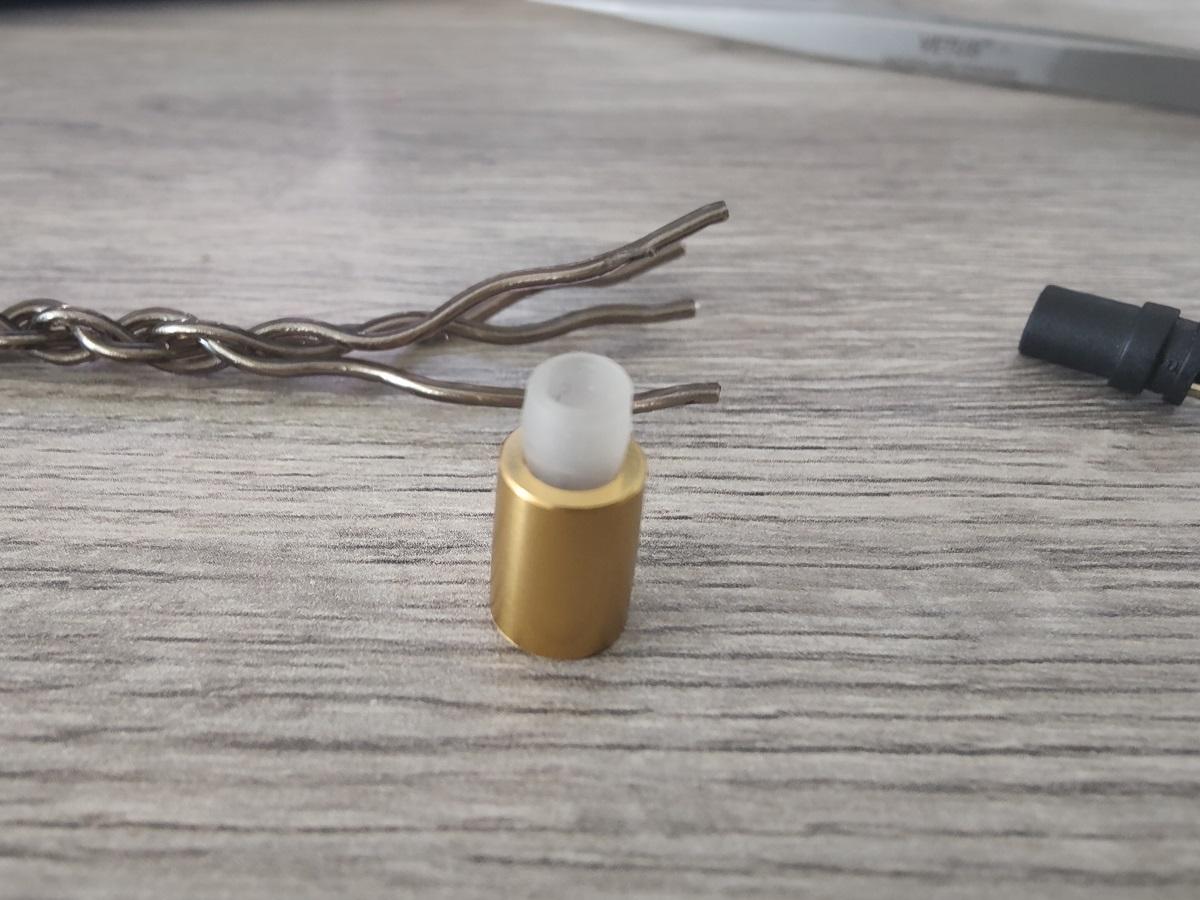
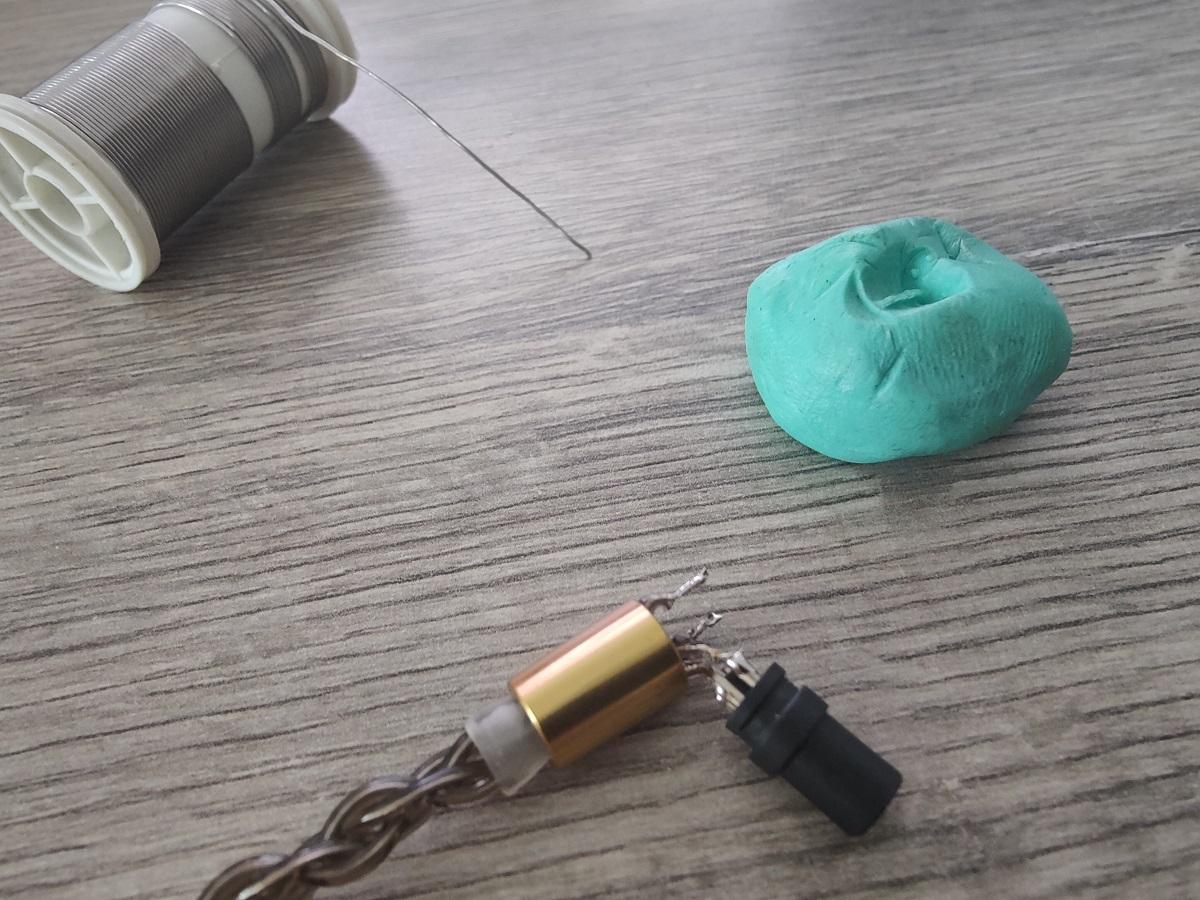
I decided to use the original white cable holder for a better and original look. But it was very tight, so if you pull the cable longer than needed for soldering as I did the braid gets lost when you pull it back to close and glue the 2 parts of the adapter.
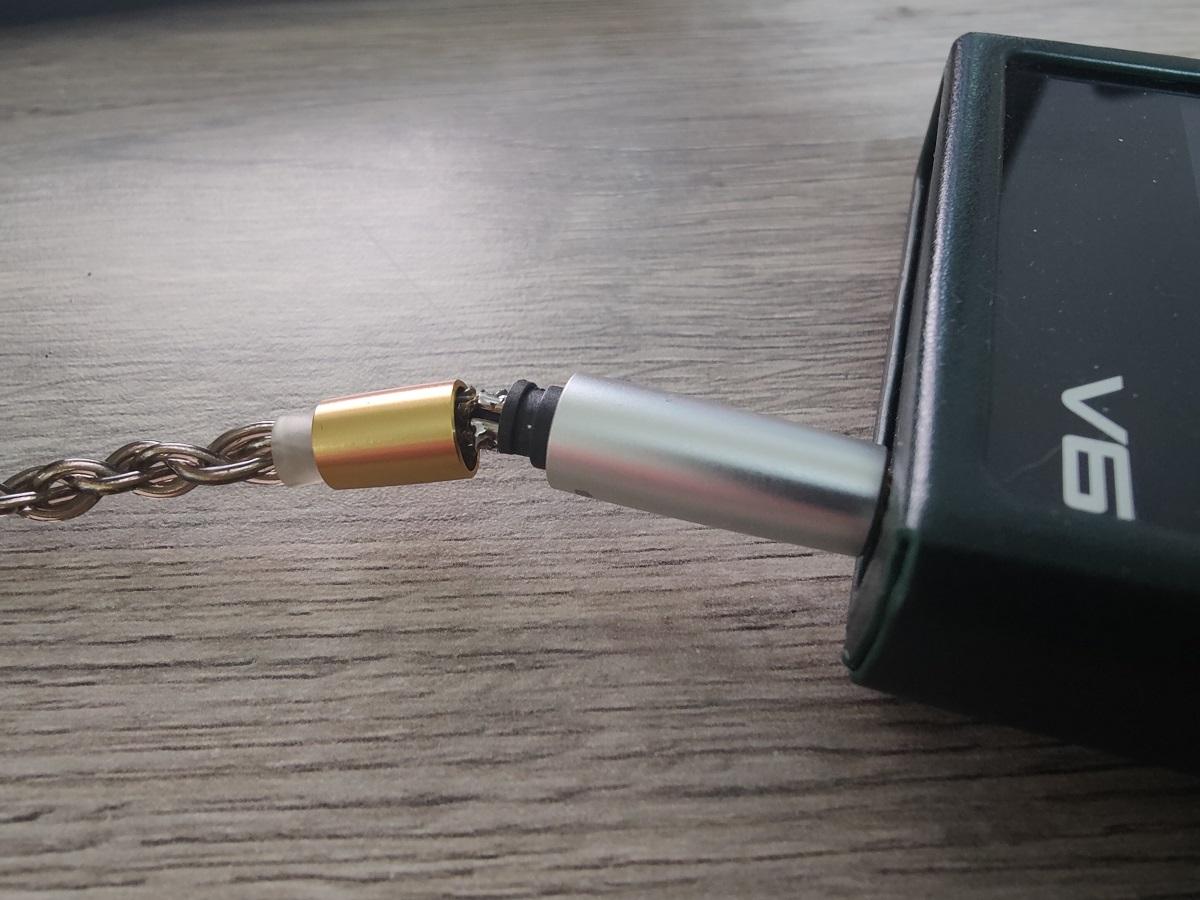
Also, my first attempt at soldering wasn’t successful, yes I’m still highly amateur at that and don’t have the right gear for my skill level yet (I also need better glasses). Even though I tested the sound before gluing, it get lost after closing the parts, because of the white cable holder which isn’t in the original ddHiFi package, I should have used the heat shrink tube that is included but like I said I wanted the original look. So do your plan more carefully and learn from my mistakes 🙂
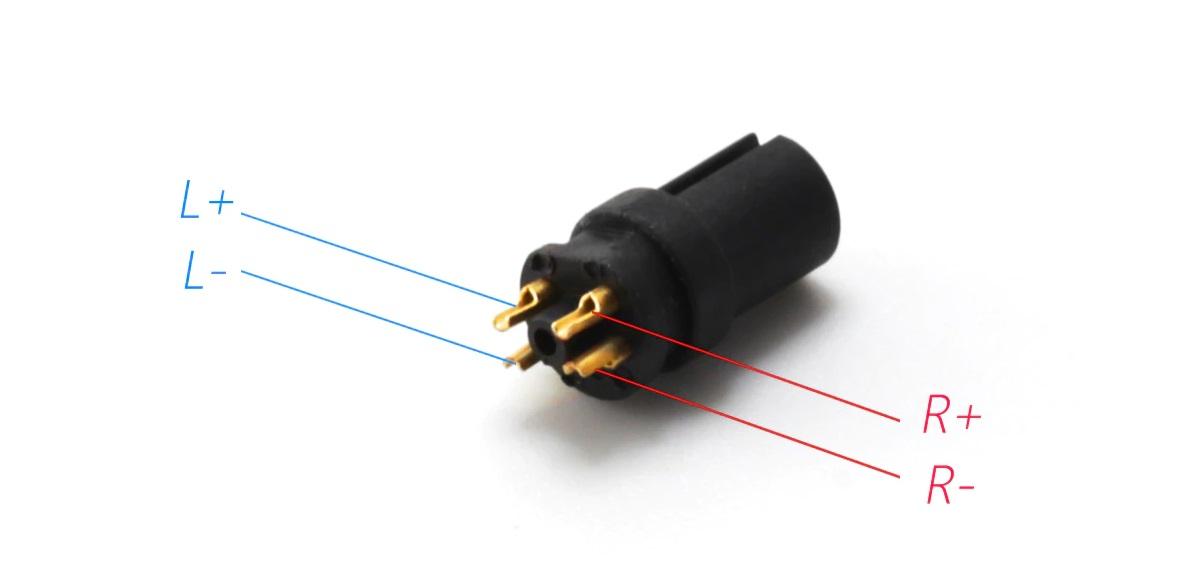
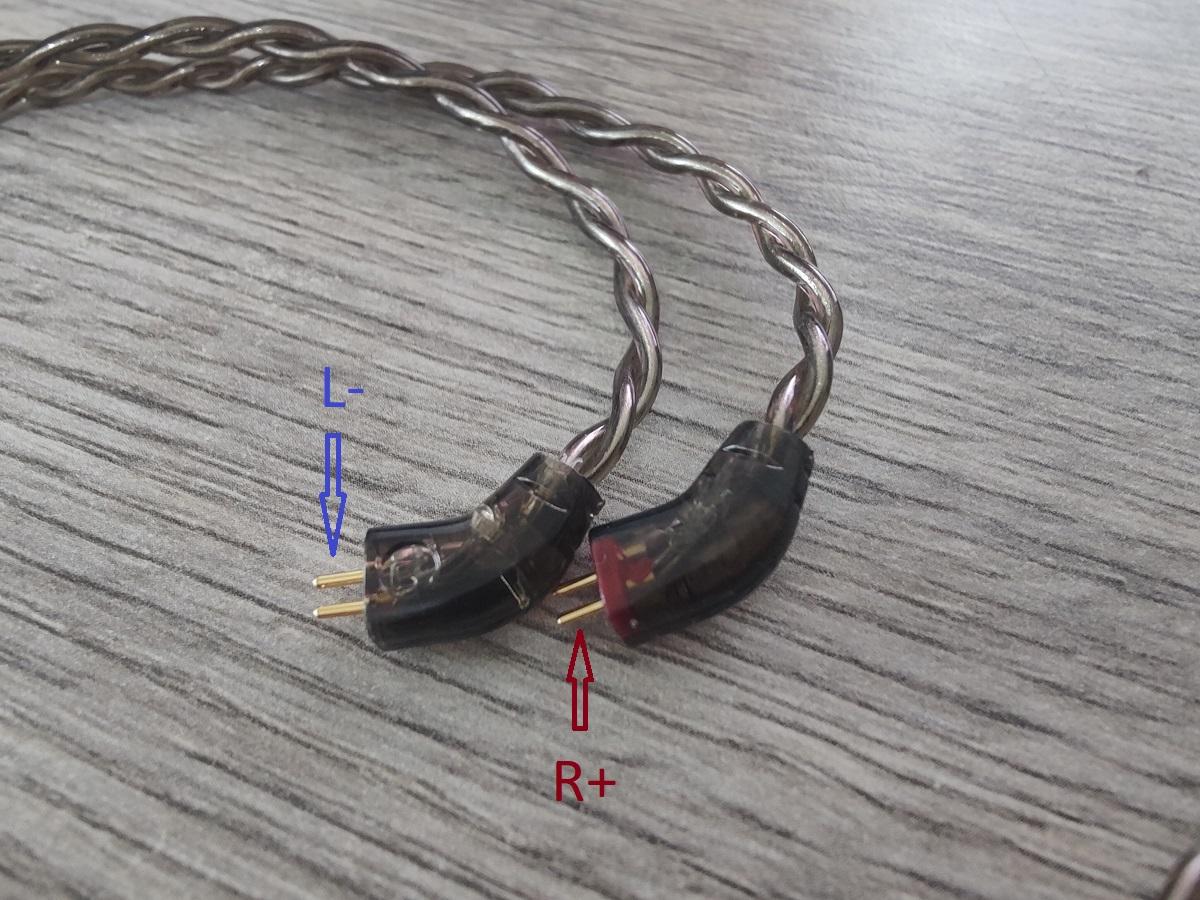
Finally! I made it after my 3rd try. Although I might have mistaken the polarity of the 2-pin connector, still not sure which pin is positive but as long as it’s done the same for both ends, there is no problem with the sound, it sounds loud and perfect.
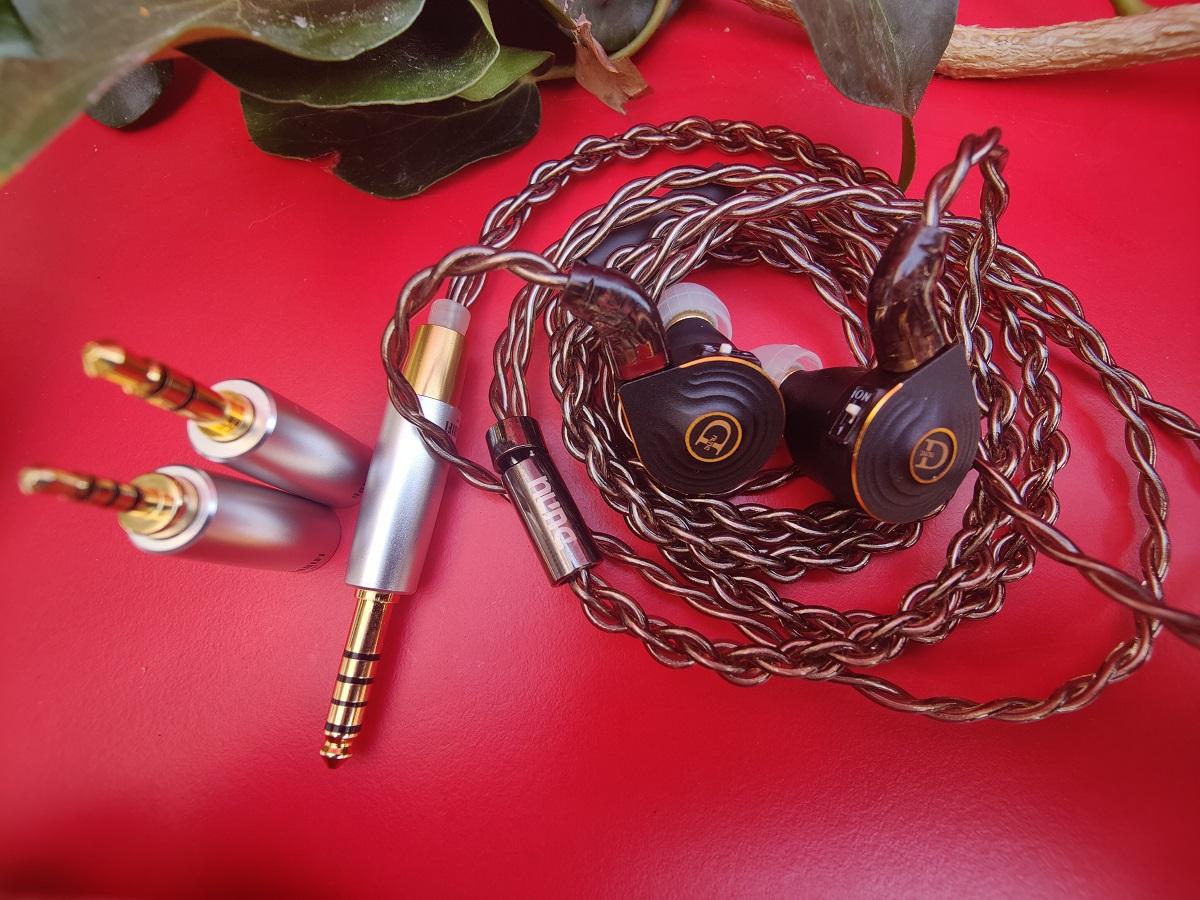
The final result is much better than I expected. Thanks to ddHiFi BM4P, this is an amazingly handsome and quality set. It also has a black color option for your information.
DUNU Talos got what it deserved in the first place. For a set that costs $200, it should have come with exchangeable plugs as the Falcon Pro did.
What do you think? How does it look? Don’t be shy to comment 🙂

